영상에서 화질을 결정하는 두 가지 요소
•
공간 해상도
•
양자화
공간 해상도 (spatial resolution)

영상에 대한 화소들의 밀도를 공간 해상도라고 한다.
샘플링 (Sampling)
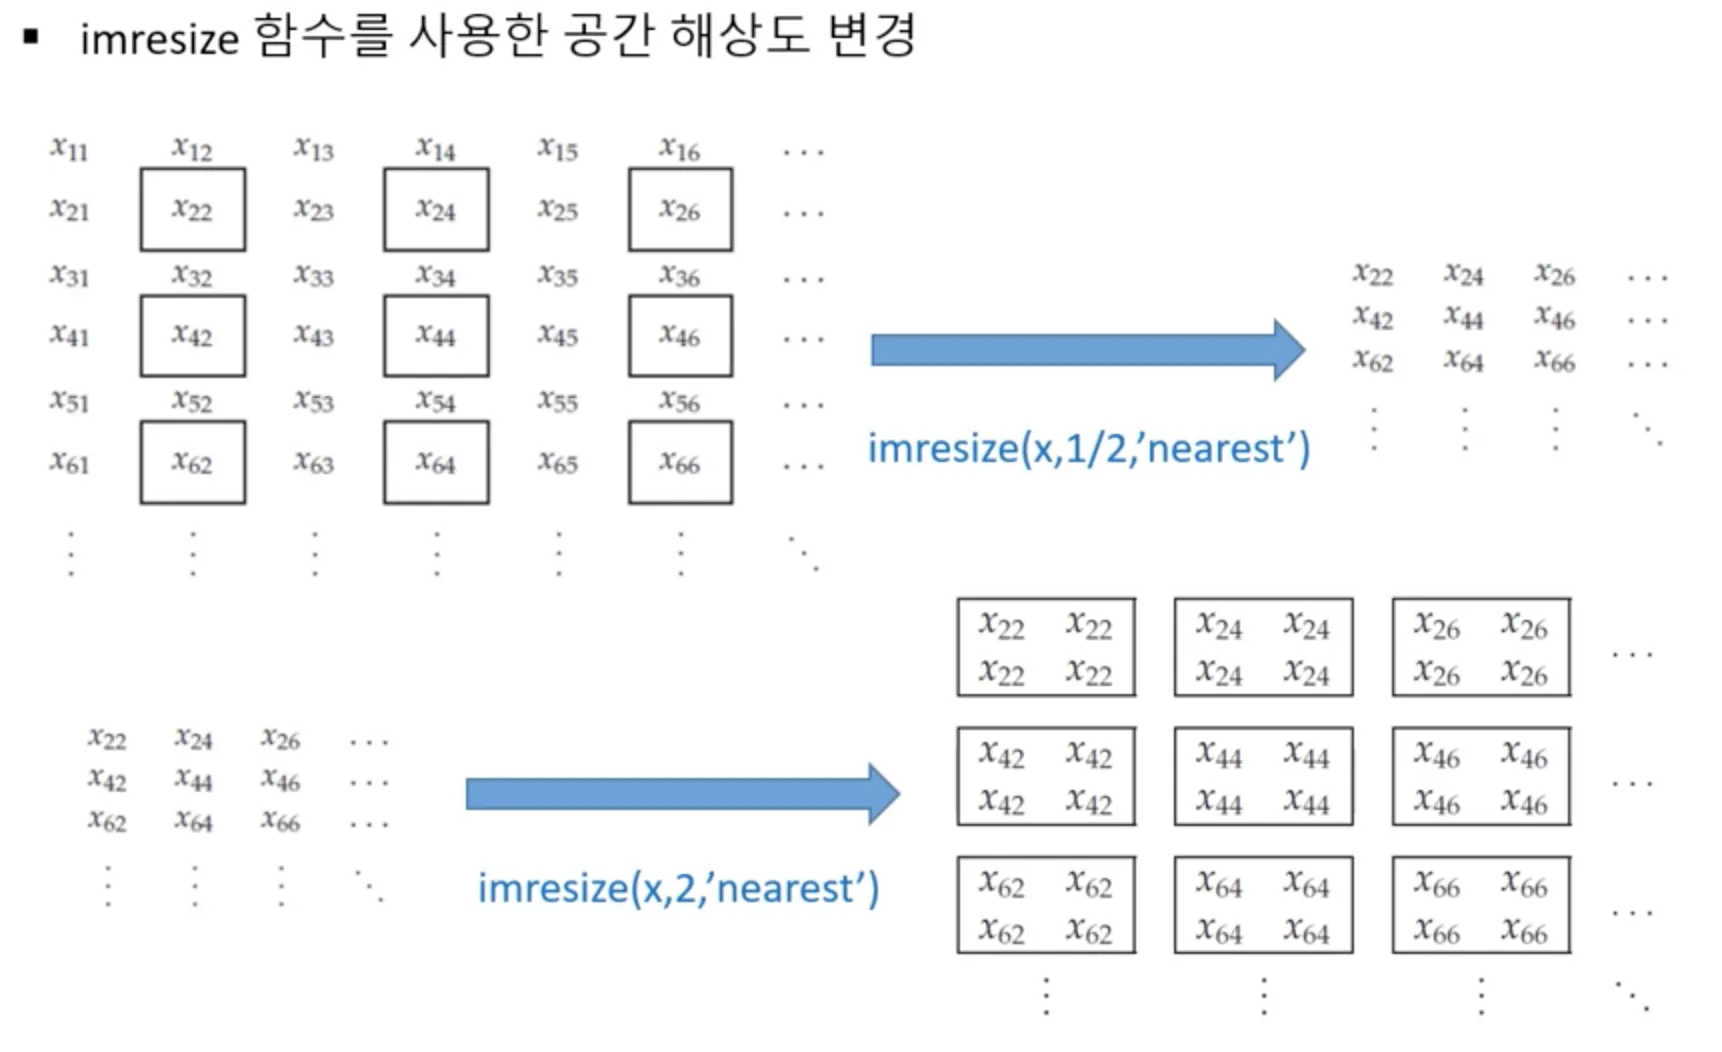
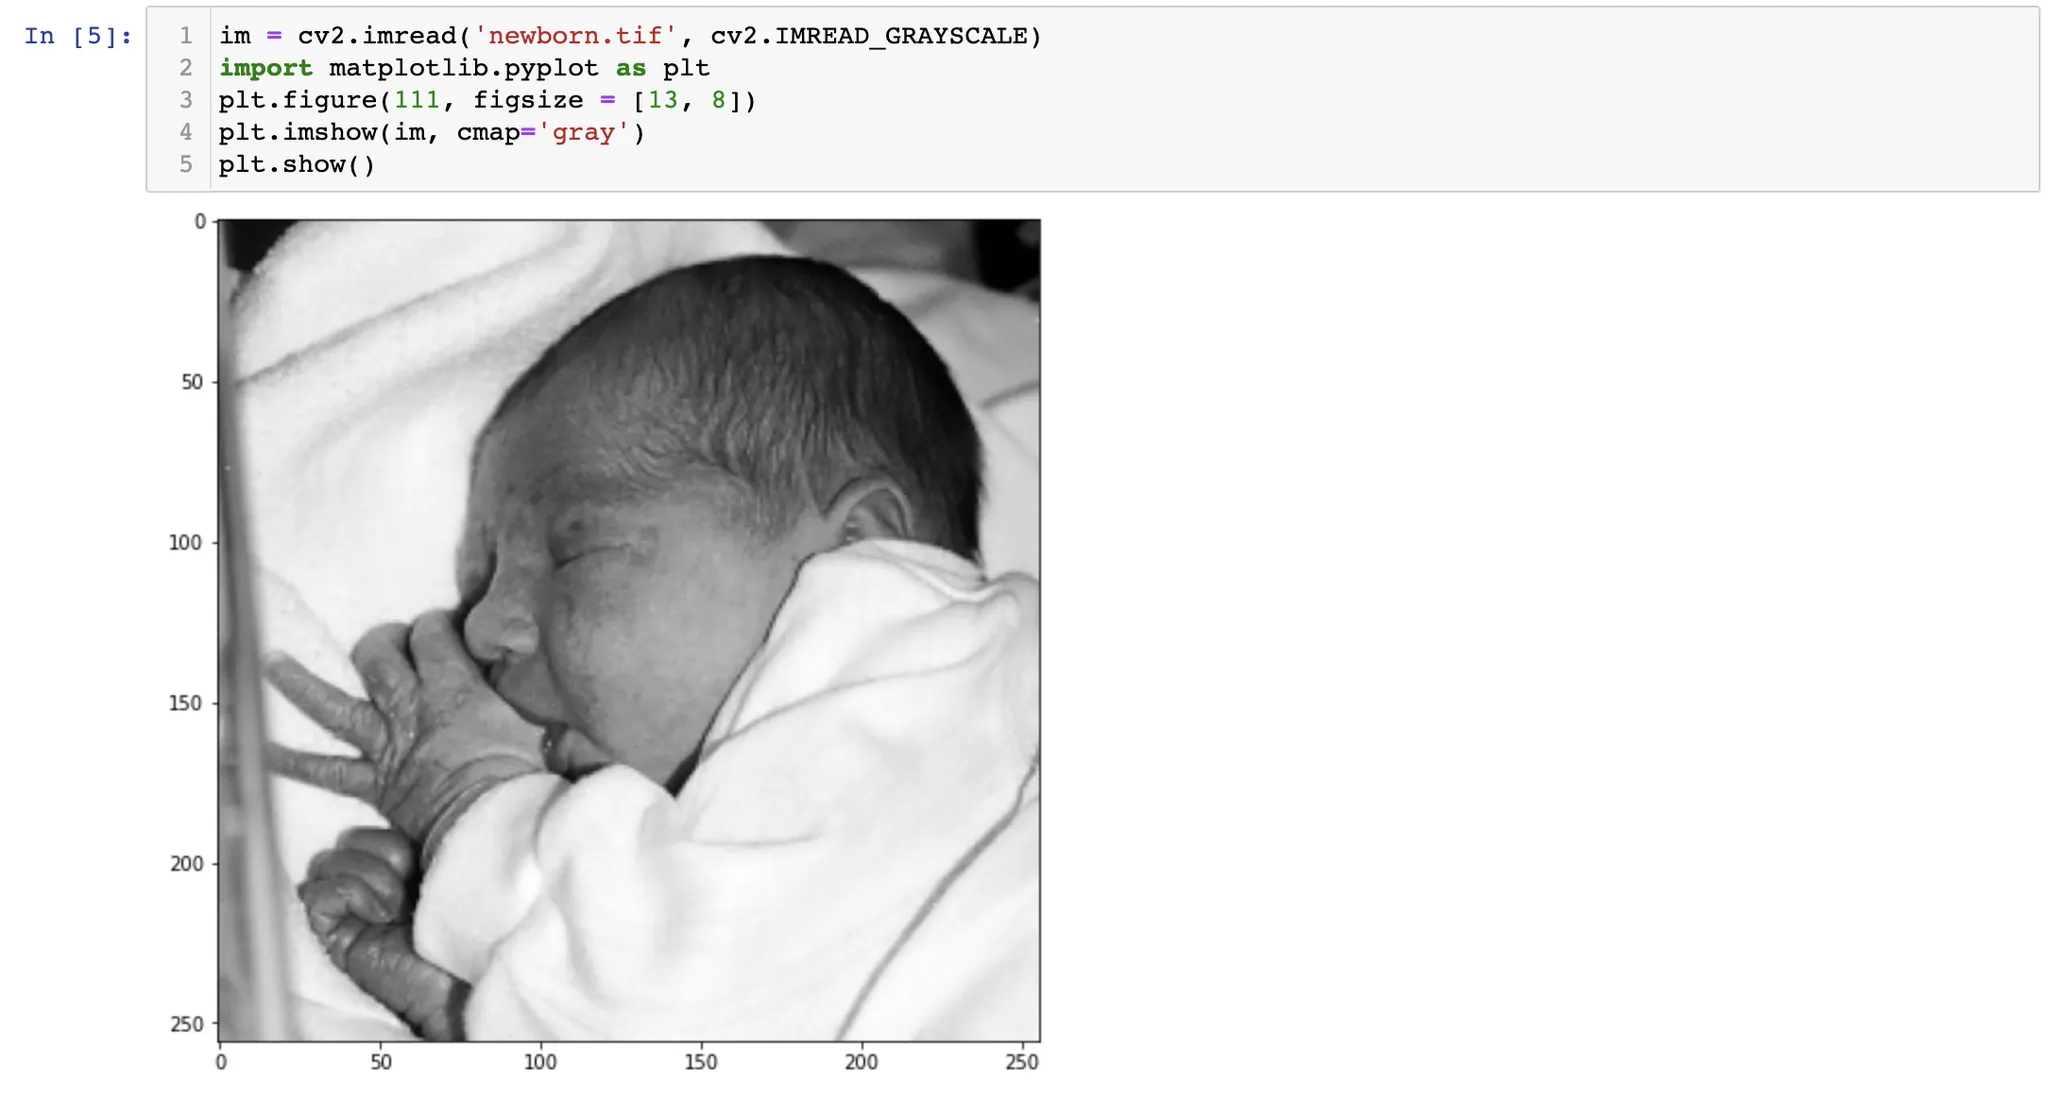
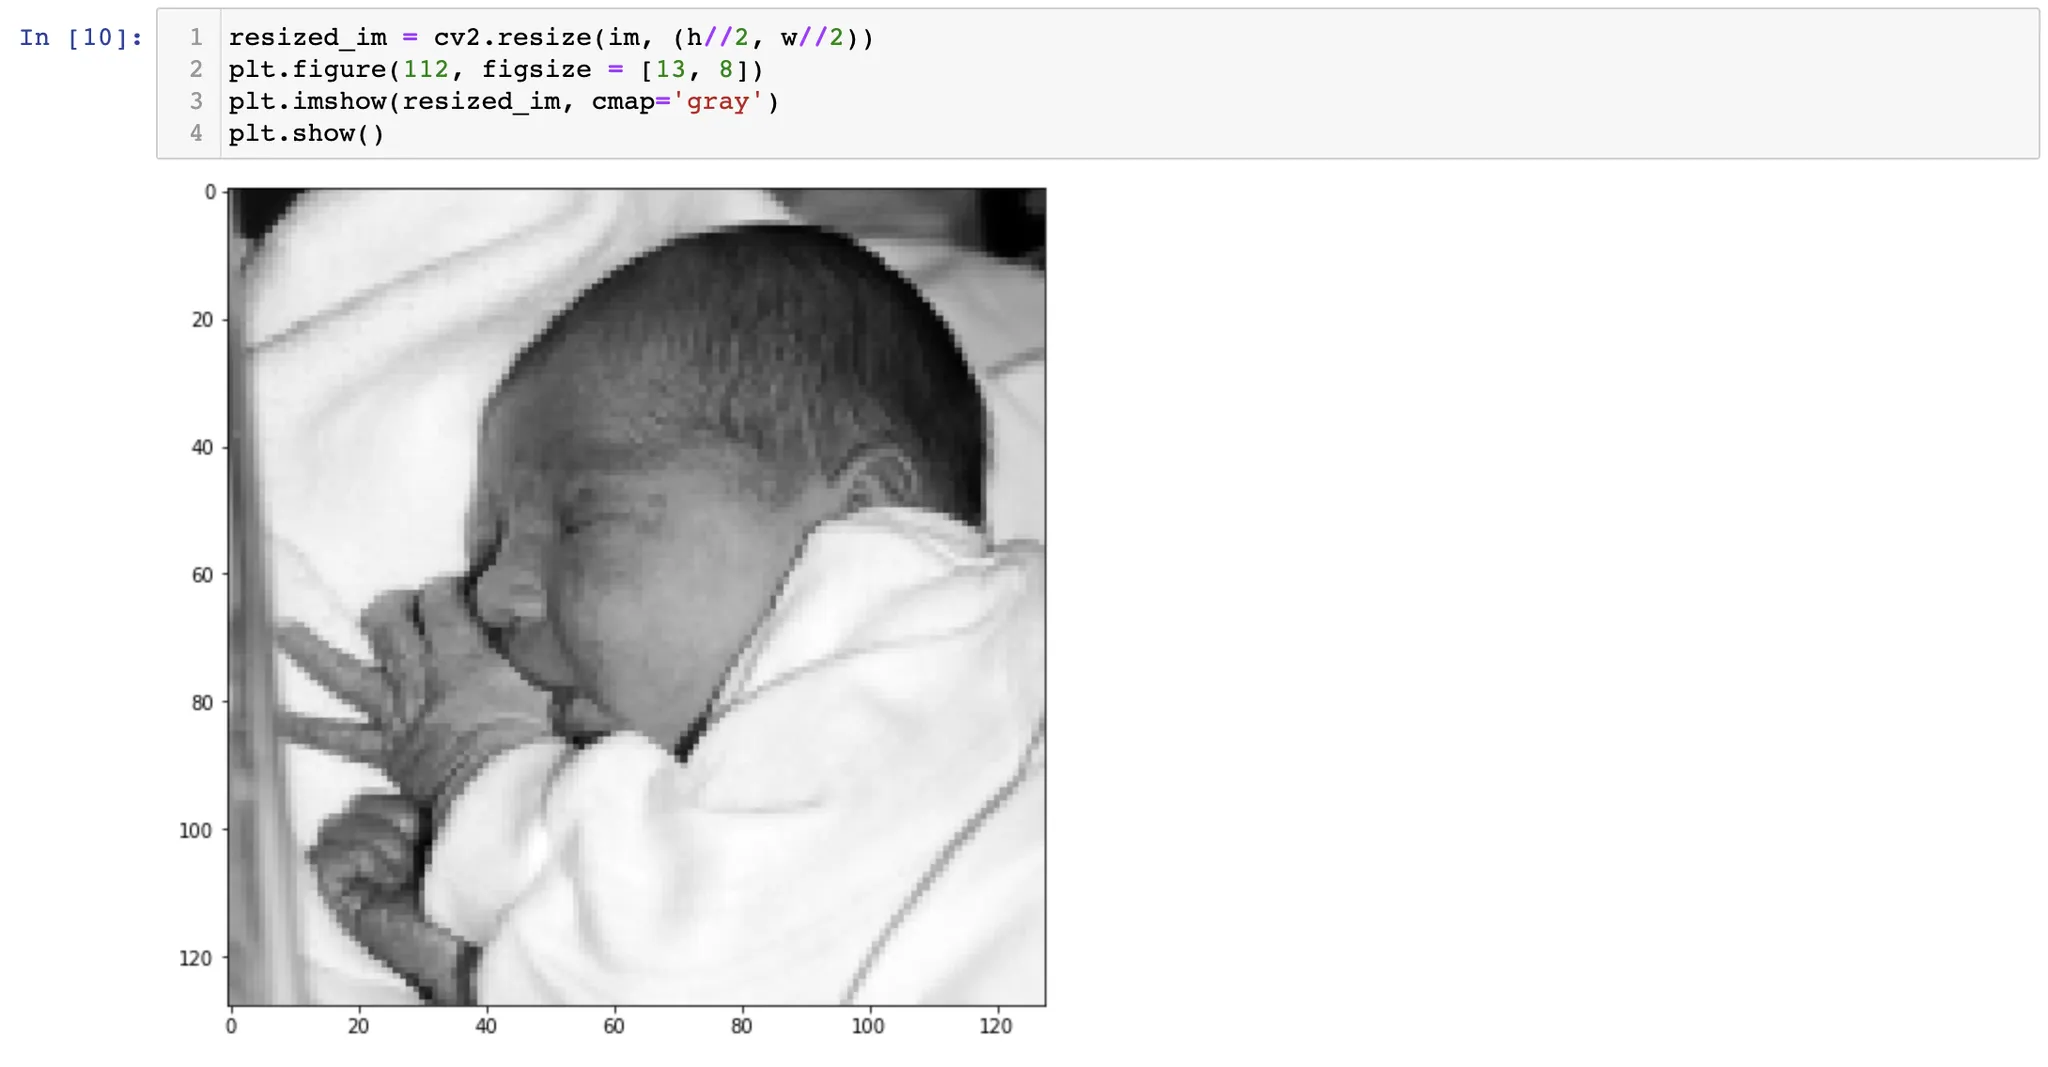
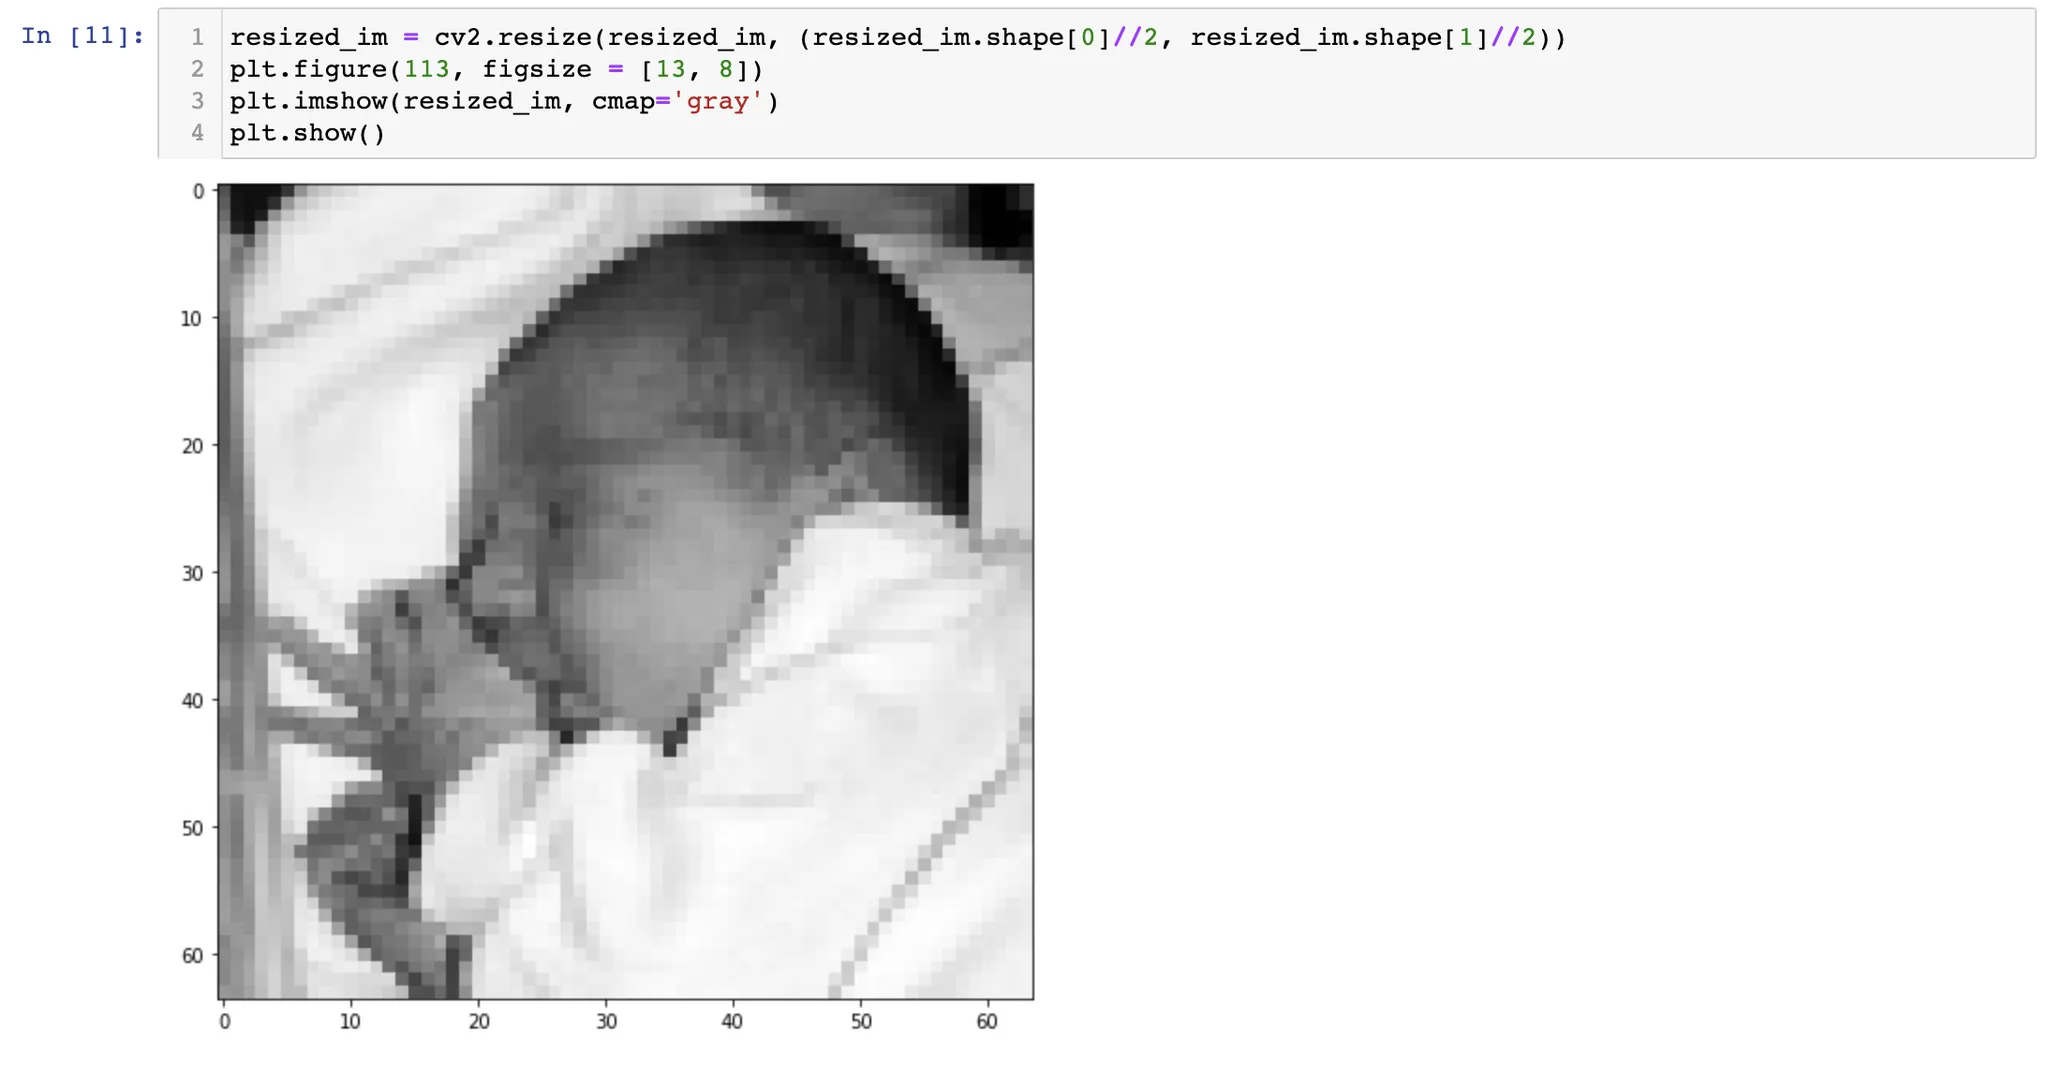
python 에서는 cv2.resize 를 통해 이미지의 공간 해상도를 변경할 수 있다. 위 사진에서는, N by N 이미지를 N/2 by N/2 이미지로 공간 해상도를 줄이고, 이를 다시 N by N 이미지로 공간 해상도를 다시 늘렸다.
입력 영상과 최종 영상의 크기는 같지만, 정보의 양이 다르고, 실제적인 해상도가 다르다. 이러한 실제적인 해상도를 effective resolution 이라고 한다.
블록화 / 화소화 (pixelization)
샘플링을 더 적게 하게 되면 블록화(화소화, pixelization) 현상이 나타나게 된다.
양자화 (quantization)
영상의 밝기 (intensity) 를 표현하는 데 사용되는 밝기값의 개수를 정하고 표현하는 것을 양자화라고 한다.
기본 영상은 256개의 ( = uint8 = 2^8 ) 개의 숫자로 양자화한다. 상황에 따라 256개보다 적은 수의 밝기값으로 양자화할 필요가 있다.
균일 양자화 (uniform quantization)
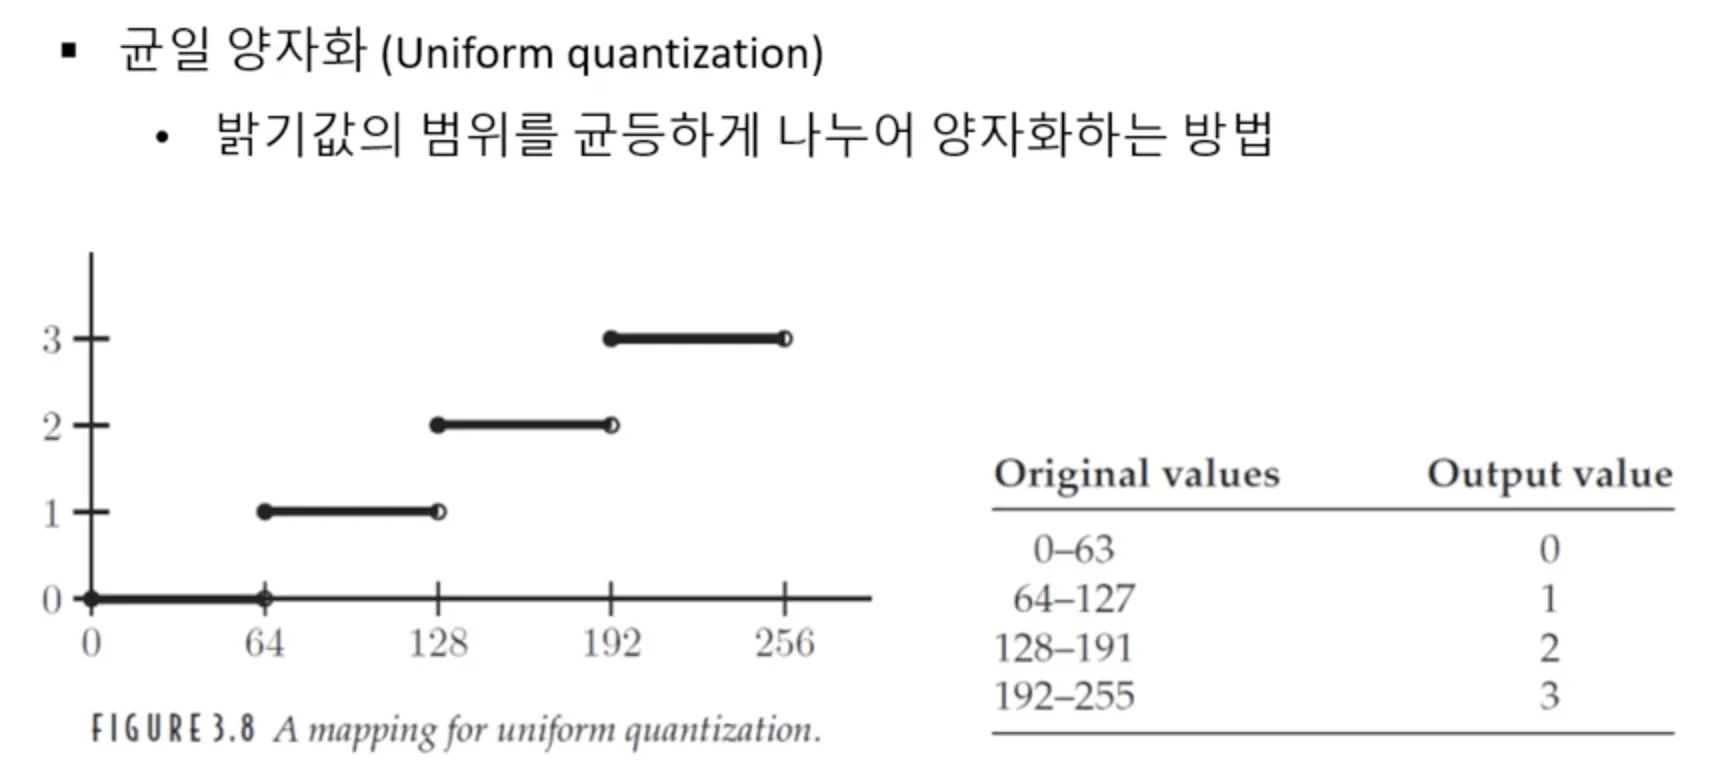
밝기값의 범위를 균등하게 나누어 양자화하는 것을 균일 양자화 (Uniform quantization) 라고 한다.
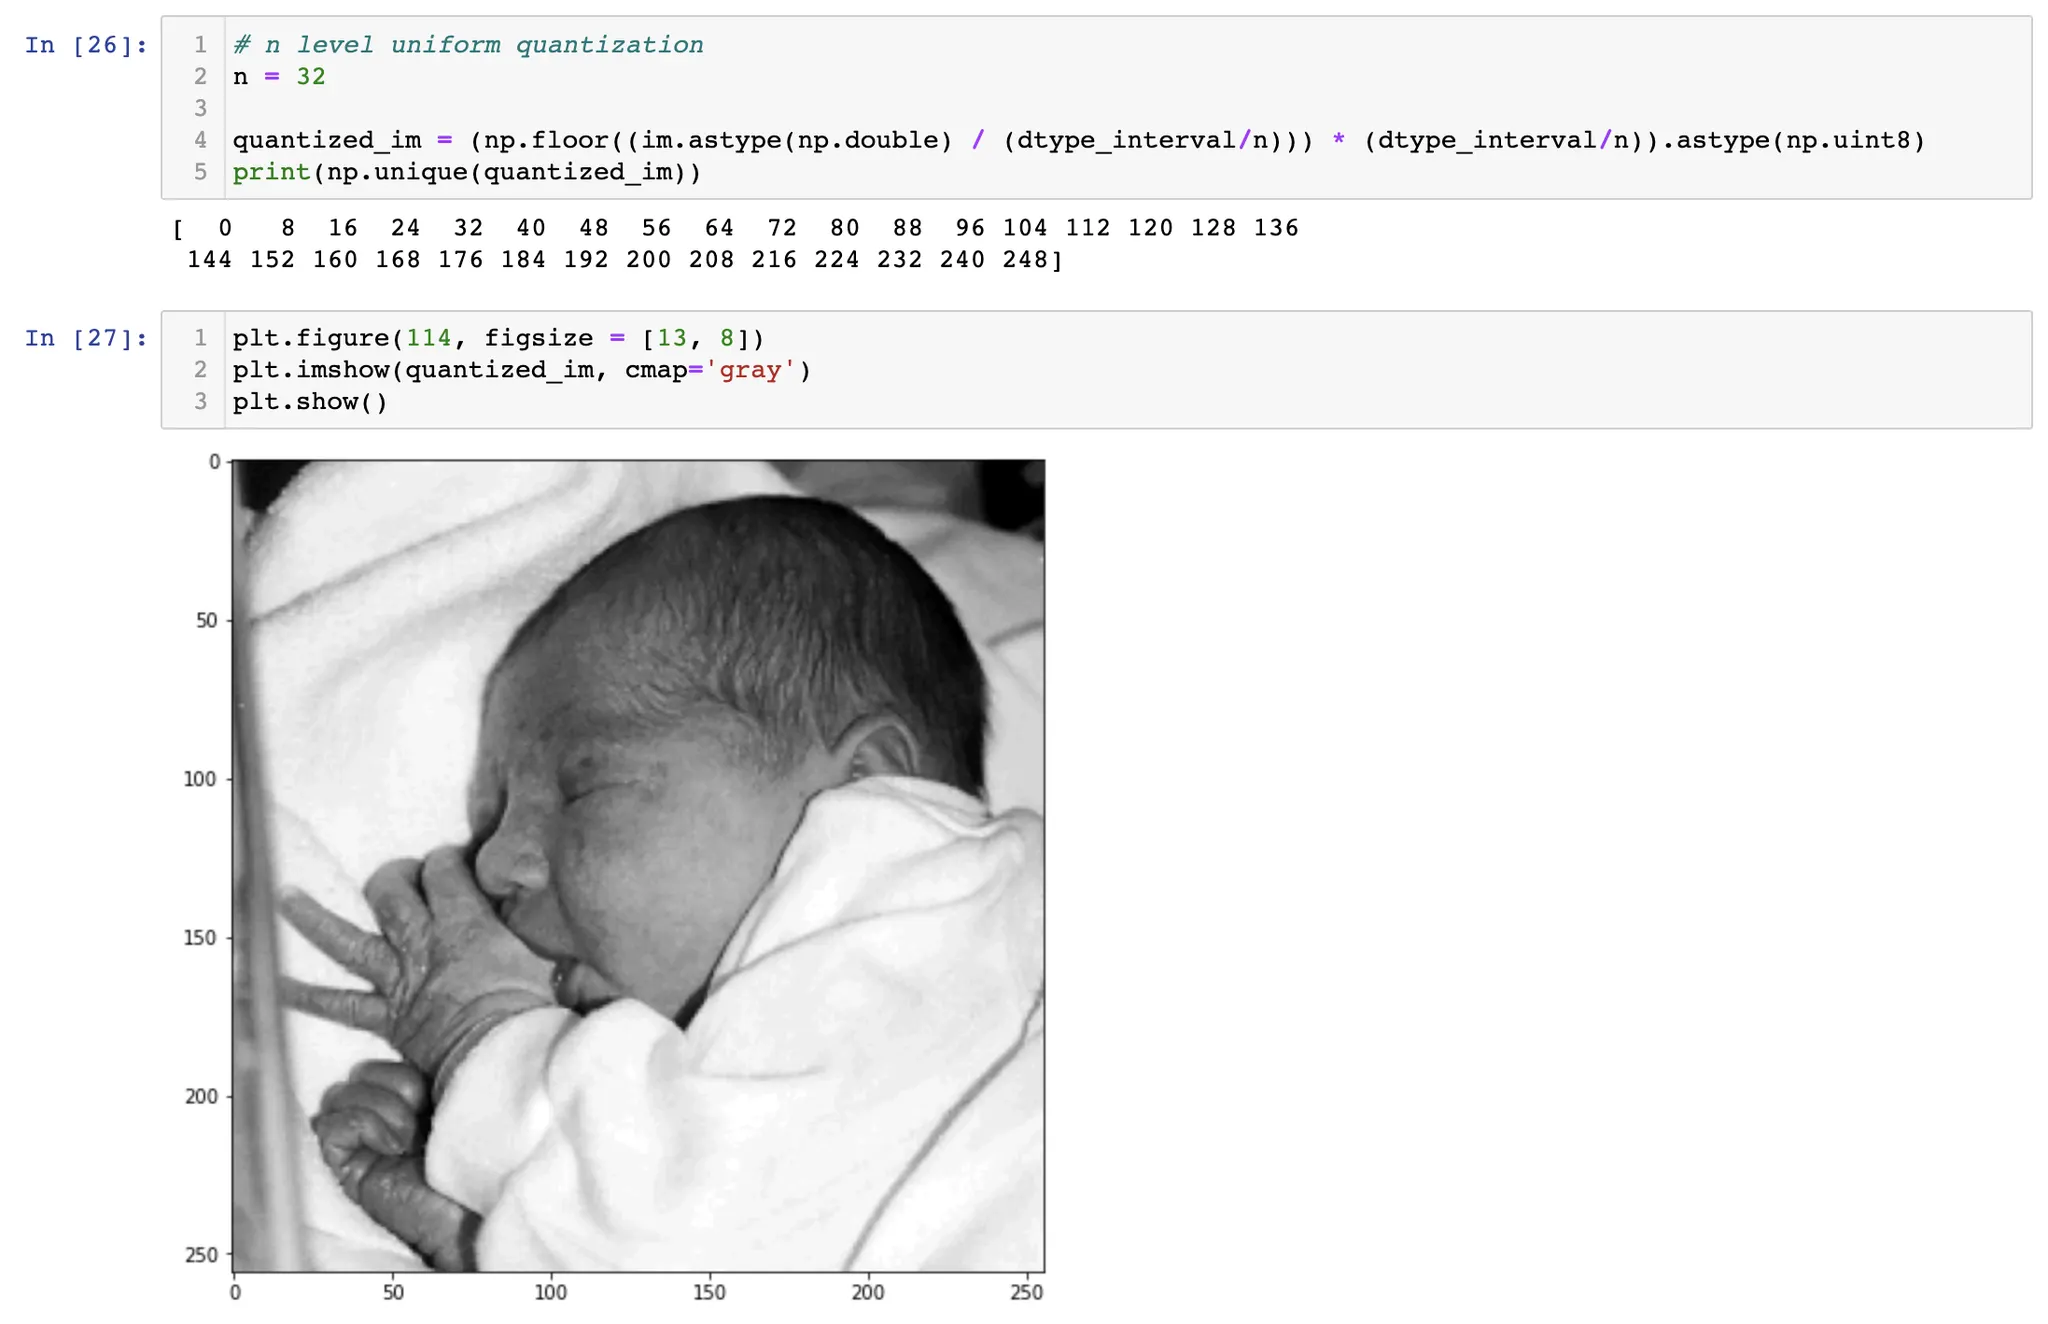
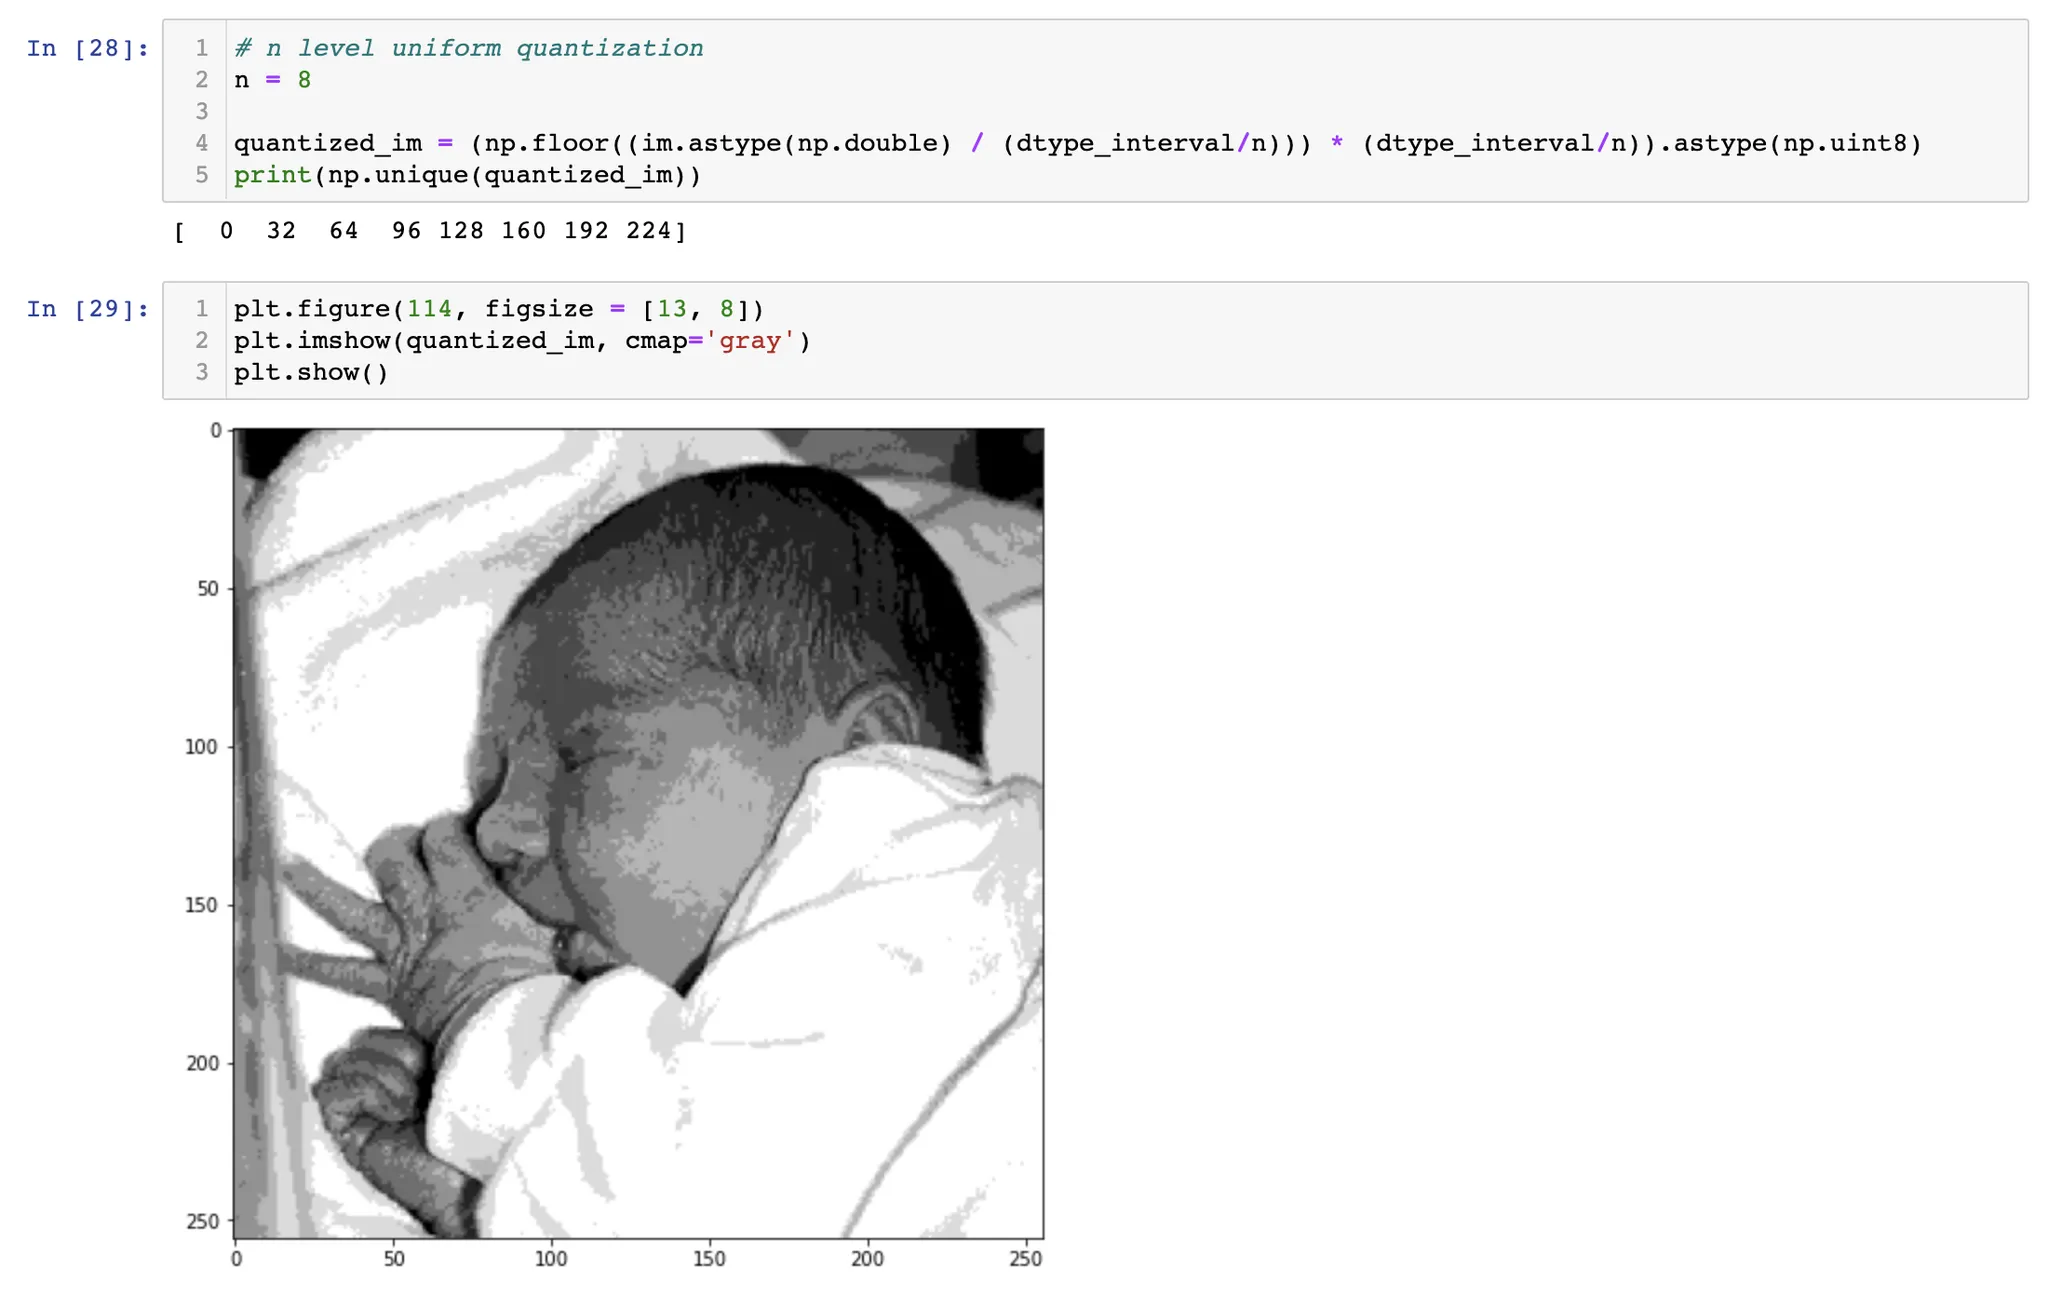
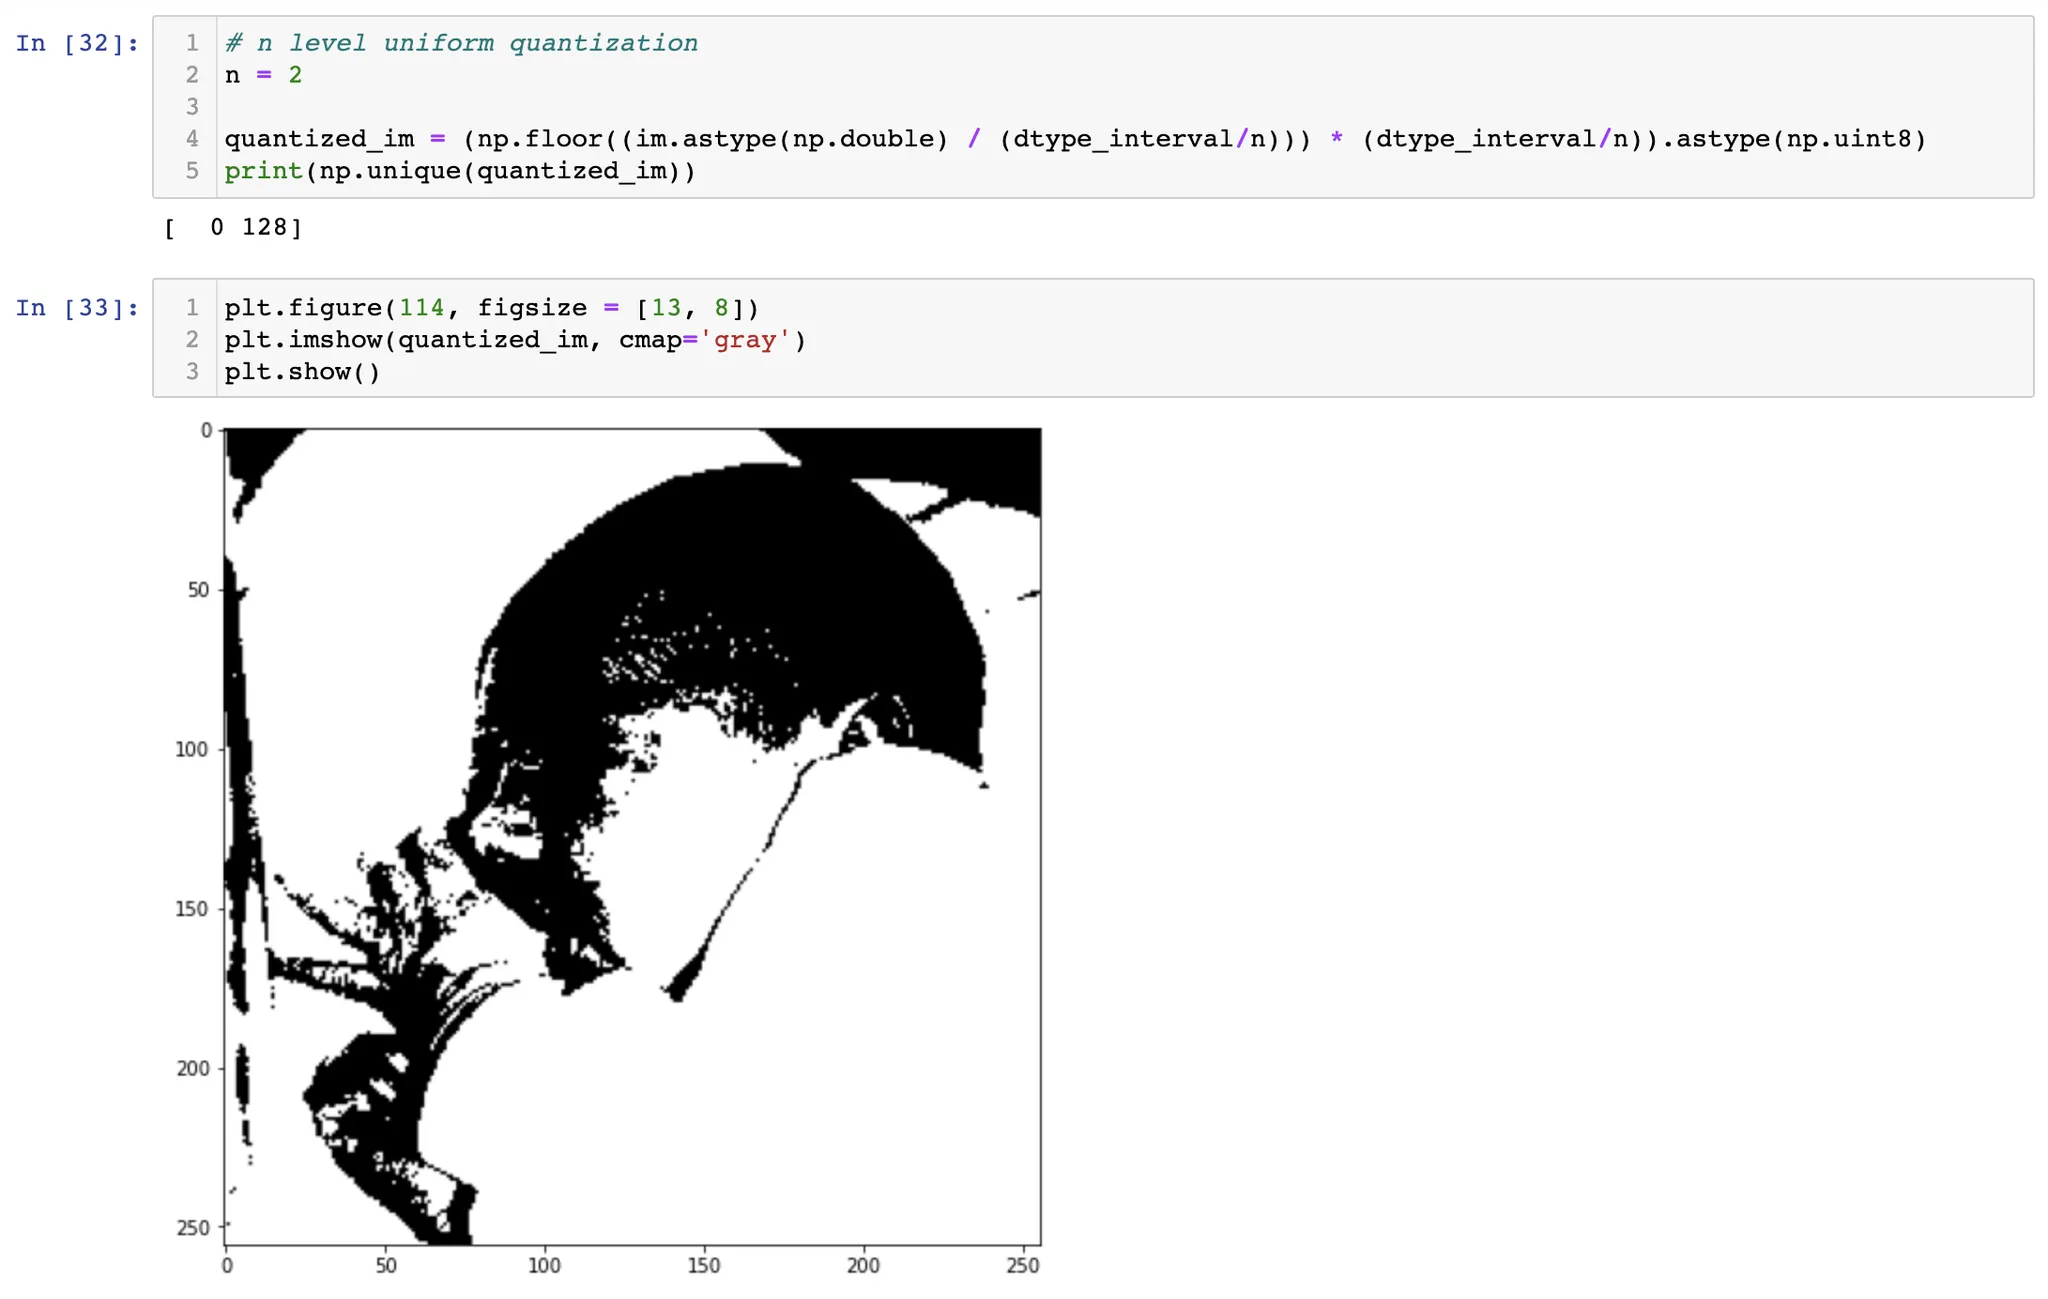
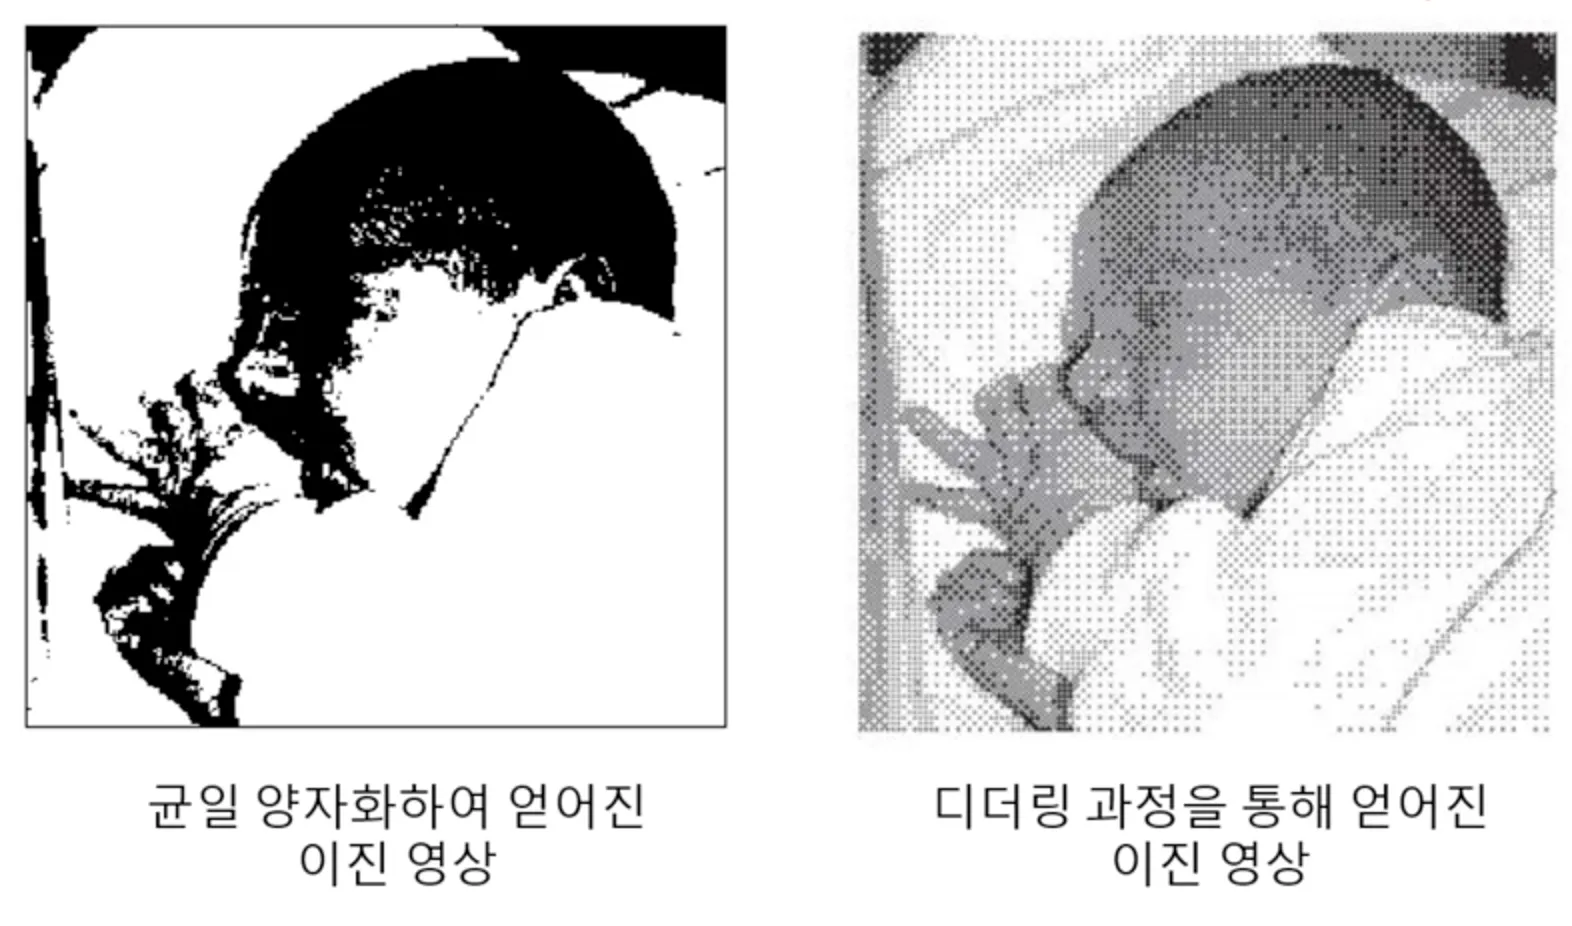
이렇듯, 균일 양자화를 하면, 원 영상에서는 존재한다고 느끼지 못하는 "거짓 윤곽" 이 나타날 수 있다. 이것은 양자화가 더 심하게 될수록 더 극단적으로 나타날 수밖에 없다.
디더링 (Dithering)
디더링 (dithering) 은 quantization 을 하면서도 영상의 quality 를 떨어뜨리지 않는, 컬러의 수 축소 방법이다.
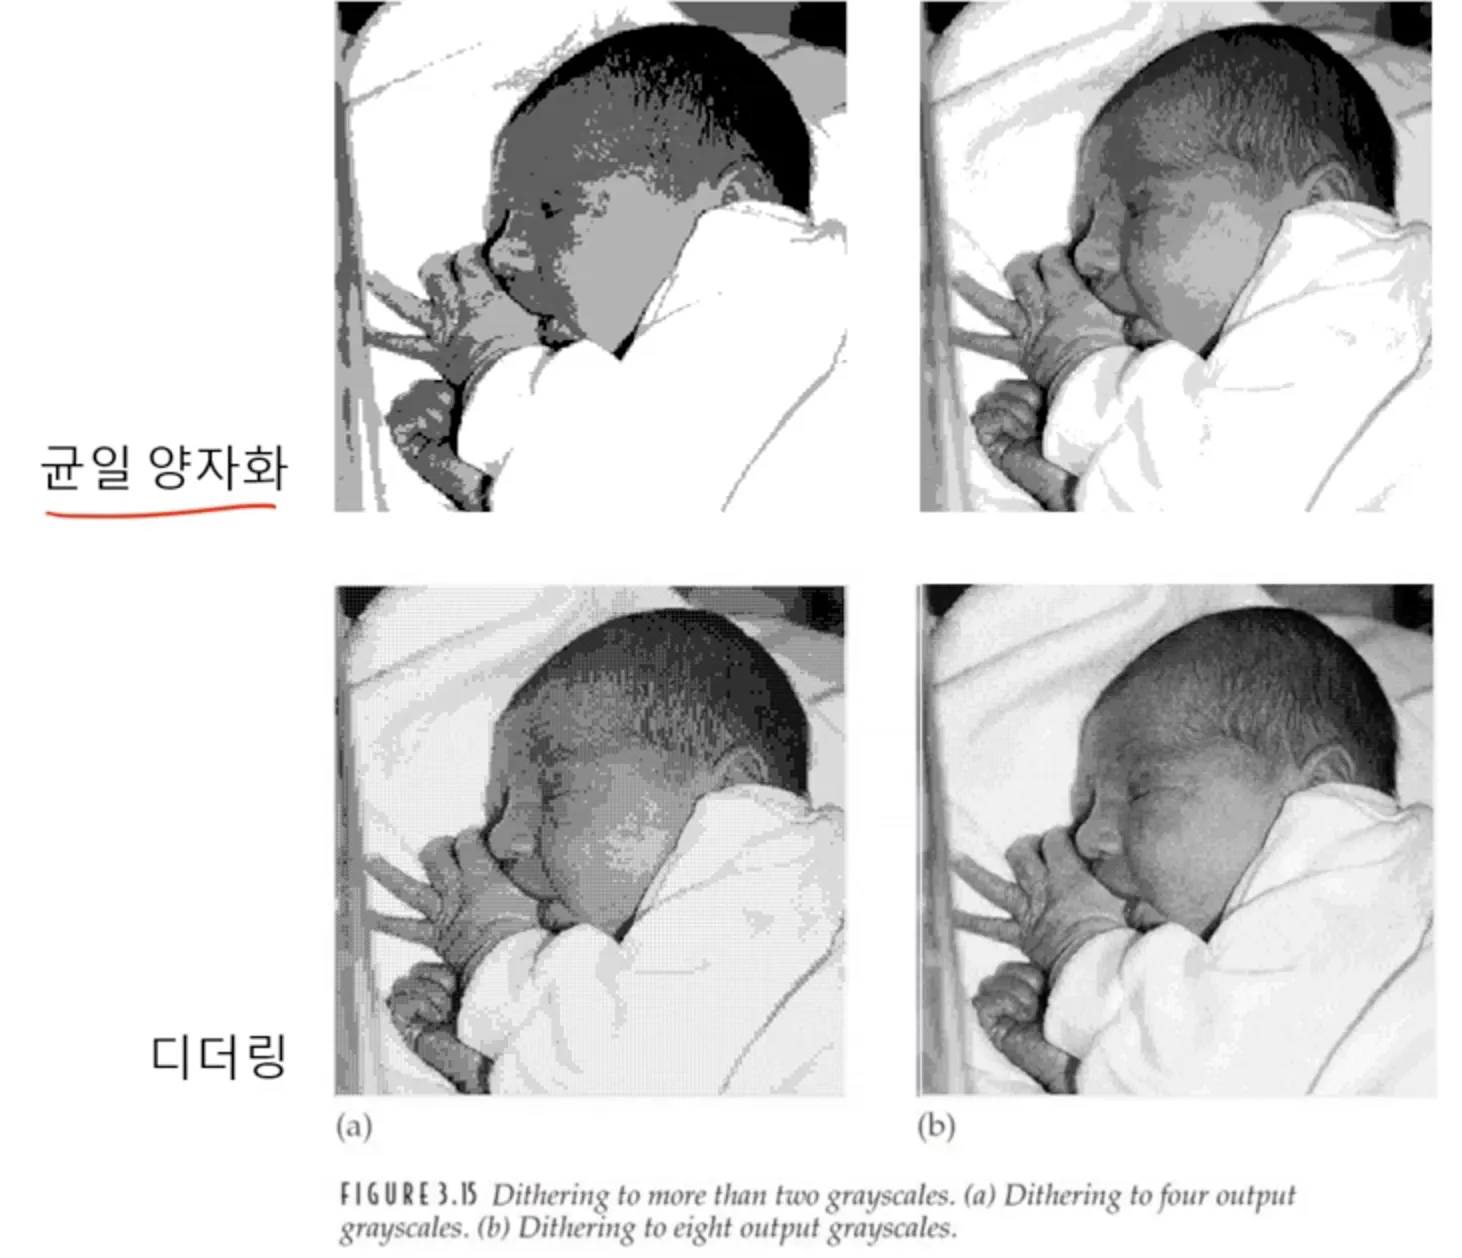
halftoning 은 디더링 (dithering) 의 한 형태로, 영상을 두 가지 톤 (tone) 으로 표현하는 것을 의미한다.
특히, halftoning 은 dithering 의 극단적인 경우로, 영상의 밝기값을 0, 1 로만 양자화해야 한다. 하지만 균일한 양자화는 앞서 보았듯 거짓 윤곽이 정말 많이 나타난다. 이를 해결하는 방법을 알아보자.
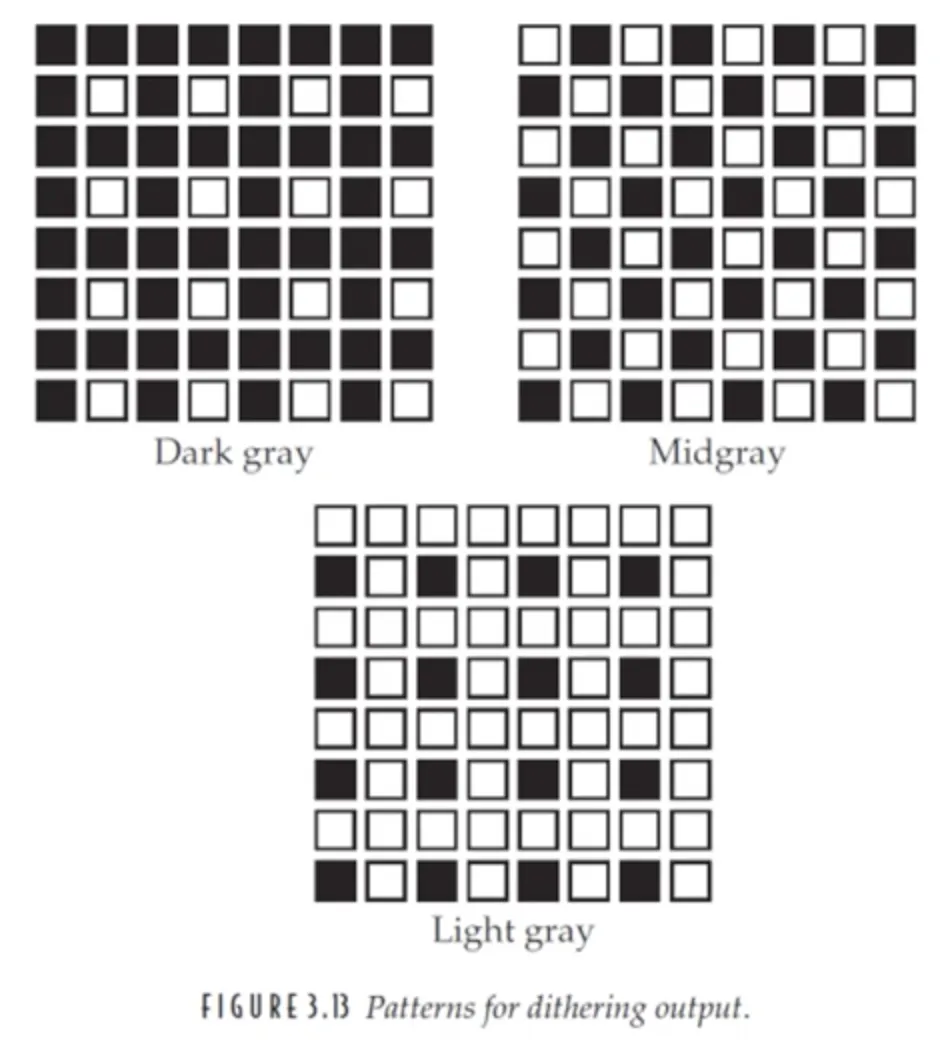
우선, 패턴 처리를 활용한 방법이다. 위 그림처럼, 하나의 화소가 아닌 영역의 밝기에 따라 흑과 백 두 톤의 픽셀비율을 조절하는 방법을 상상할 수 있다.
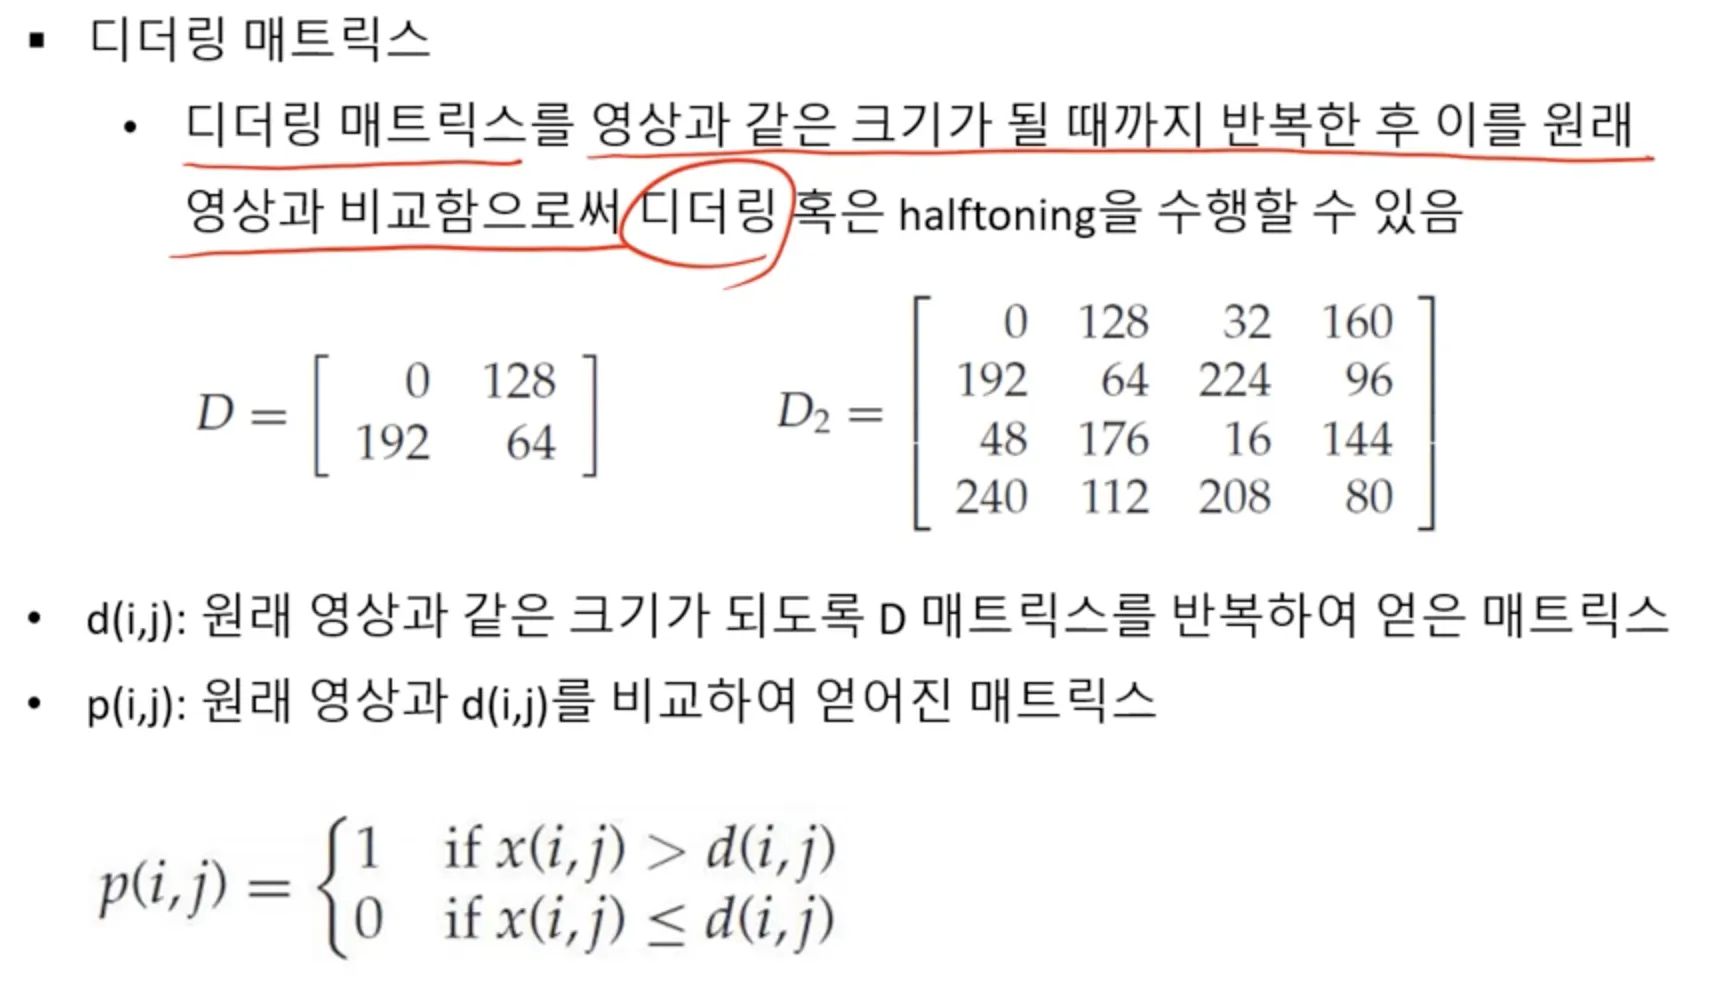
강의에서는 이것을 달성하기 위한 방법들 중, 아주 간단한 방법을 소개한다고 한다. 강의에서 소개한 방법은 dithering matrix 을 통한 방법이다.
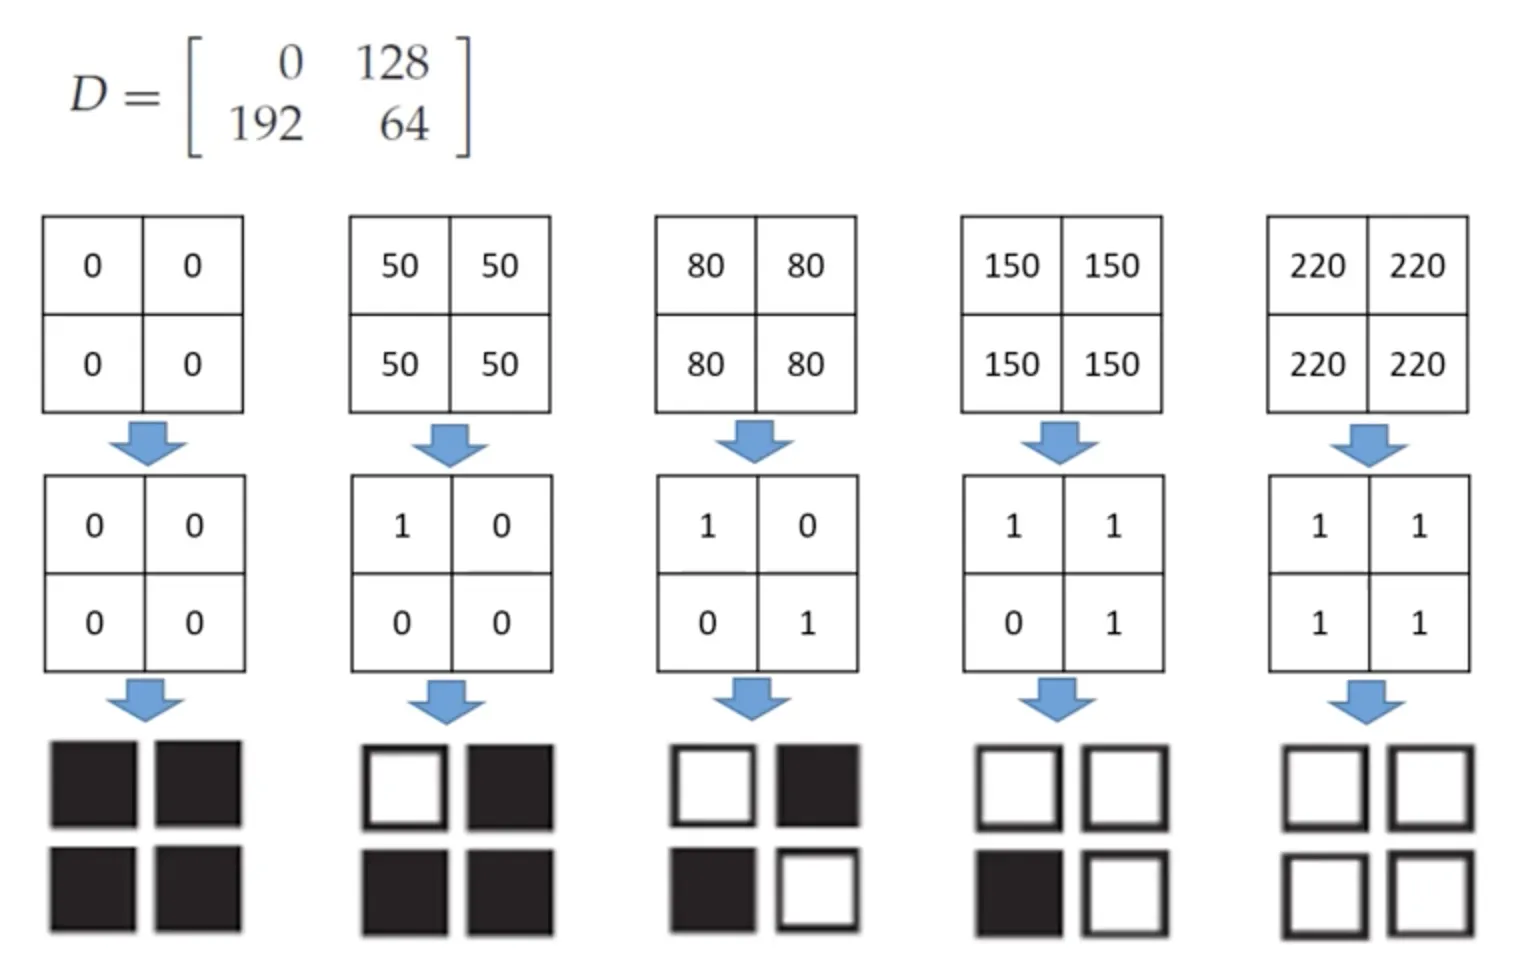
갑자기 행렬이 나와서 당황스러울 수 있지만, 결국 그냥 네 픽셀과 행렬의 네 요소를 비교해서 크면 1, 작으면 0 을 그 위치에 대입하겠다는 것이다.
n = 4
dithering_4 = np.linspace(uint8_min, uint8_max, n).astype(np.uint8)
print(dithering_4)
dithering_4_mat = dithering_4.reshape([np.sqrt(n).astype(np.uint8), np.sqrt(n).astype(np.uint8)])
print(dithering_4_mat)
Python
복사
[ 0 85 170 255]
[[ 0 85]
[170 255]]
Python
복사
n = 4
dithering_4_mat = np.tile(dithering_4_mat, [h//np.sqrt(n).astype(np.uint8), w//np.sqrt(n).astype(np.uint8)])
print(dithering_4_mat.shape)
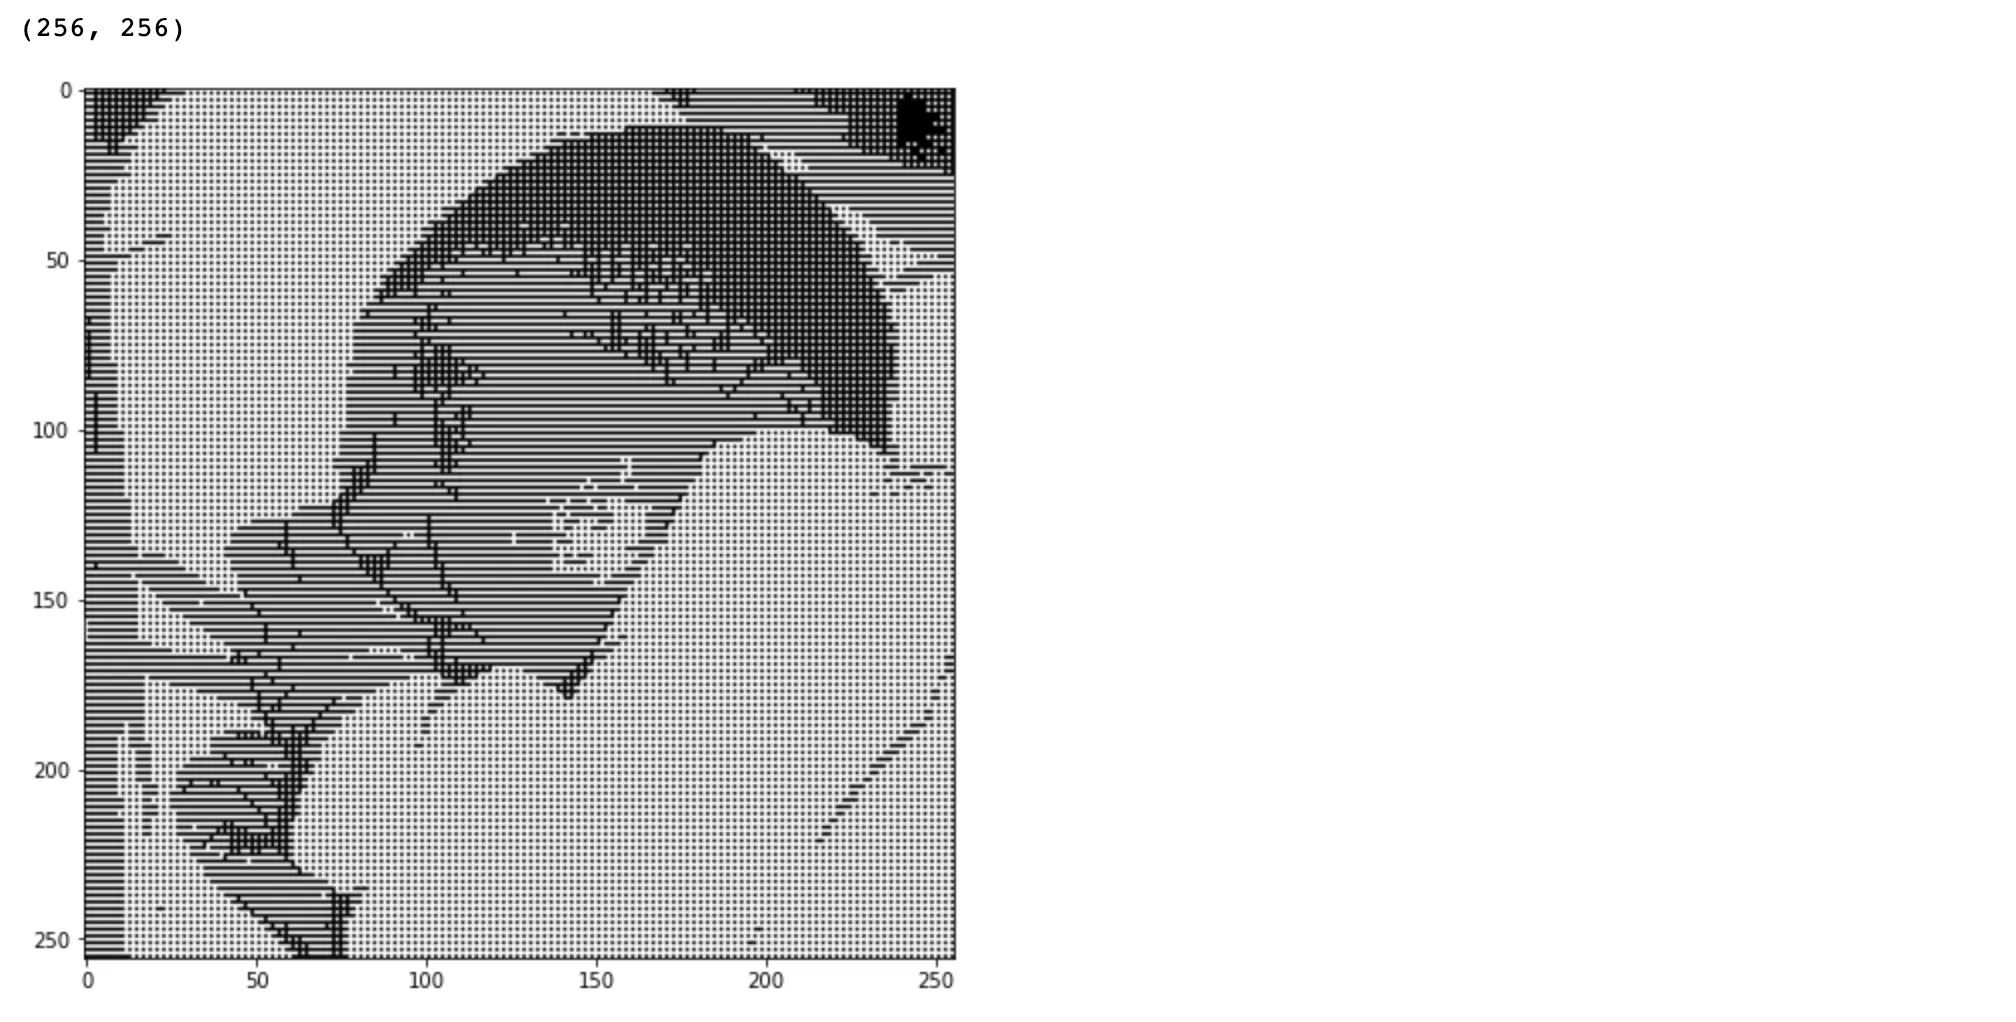
dithering_4_im = (im > dithering_4_mat)
plt.figure(121, figsize = [13, 8])
plt.imshow(dithering_4_im, cmap='gray')
plt.show()
Python
복사
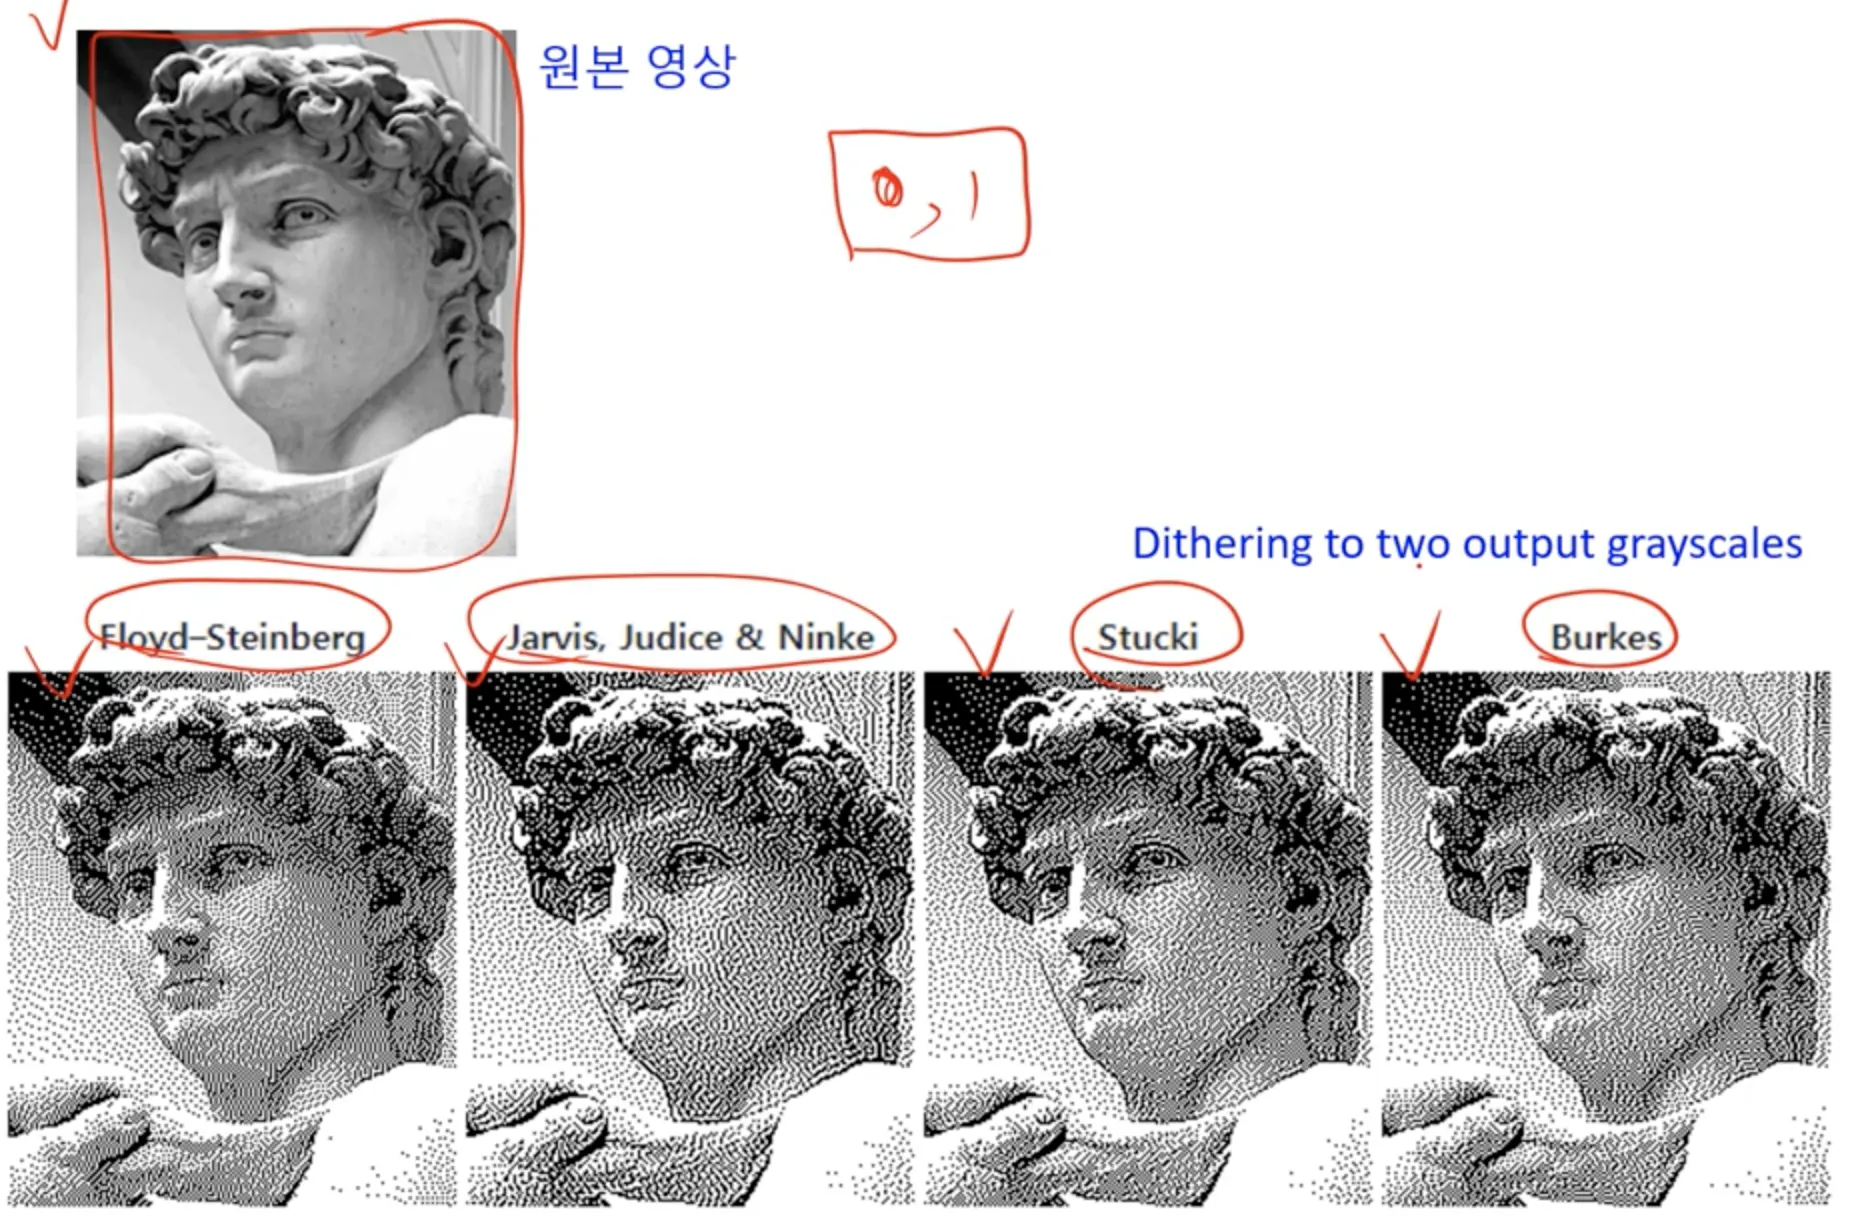
좋은 디더링 알고리즘을 사용하면 아래와 같이 더욱 디테일한 영상을 만들어 볼 수 있다.
이제 n-output grayscale dithering 을 해 보자.
dithering 의 한 형태인 halfolding 은 binary 형태로 나타내는 것을 의미하므로, 다음에 시도해볼 내용은 halfolding 이 아니기 때문에 0 과 1 만으로 이루어져 있지는 않다.
4-output grayscale dithering 은 다음과 같은 과정으로 이루어진다.
이때, 85 라는 값은 를 통해 도출된 값이다. 여기서 까지는 uniform quantization 결과물과 별반 다를 것이 없다. 하지만 우리는 dithering 을 하고 있지 않은가.
왜 이게 가능할까지 아래 예시 이미지 x(i,j) 를 통해 해 보도록 하자.

n-output grayscale dithering 으로 일반화해 보자.
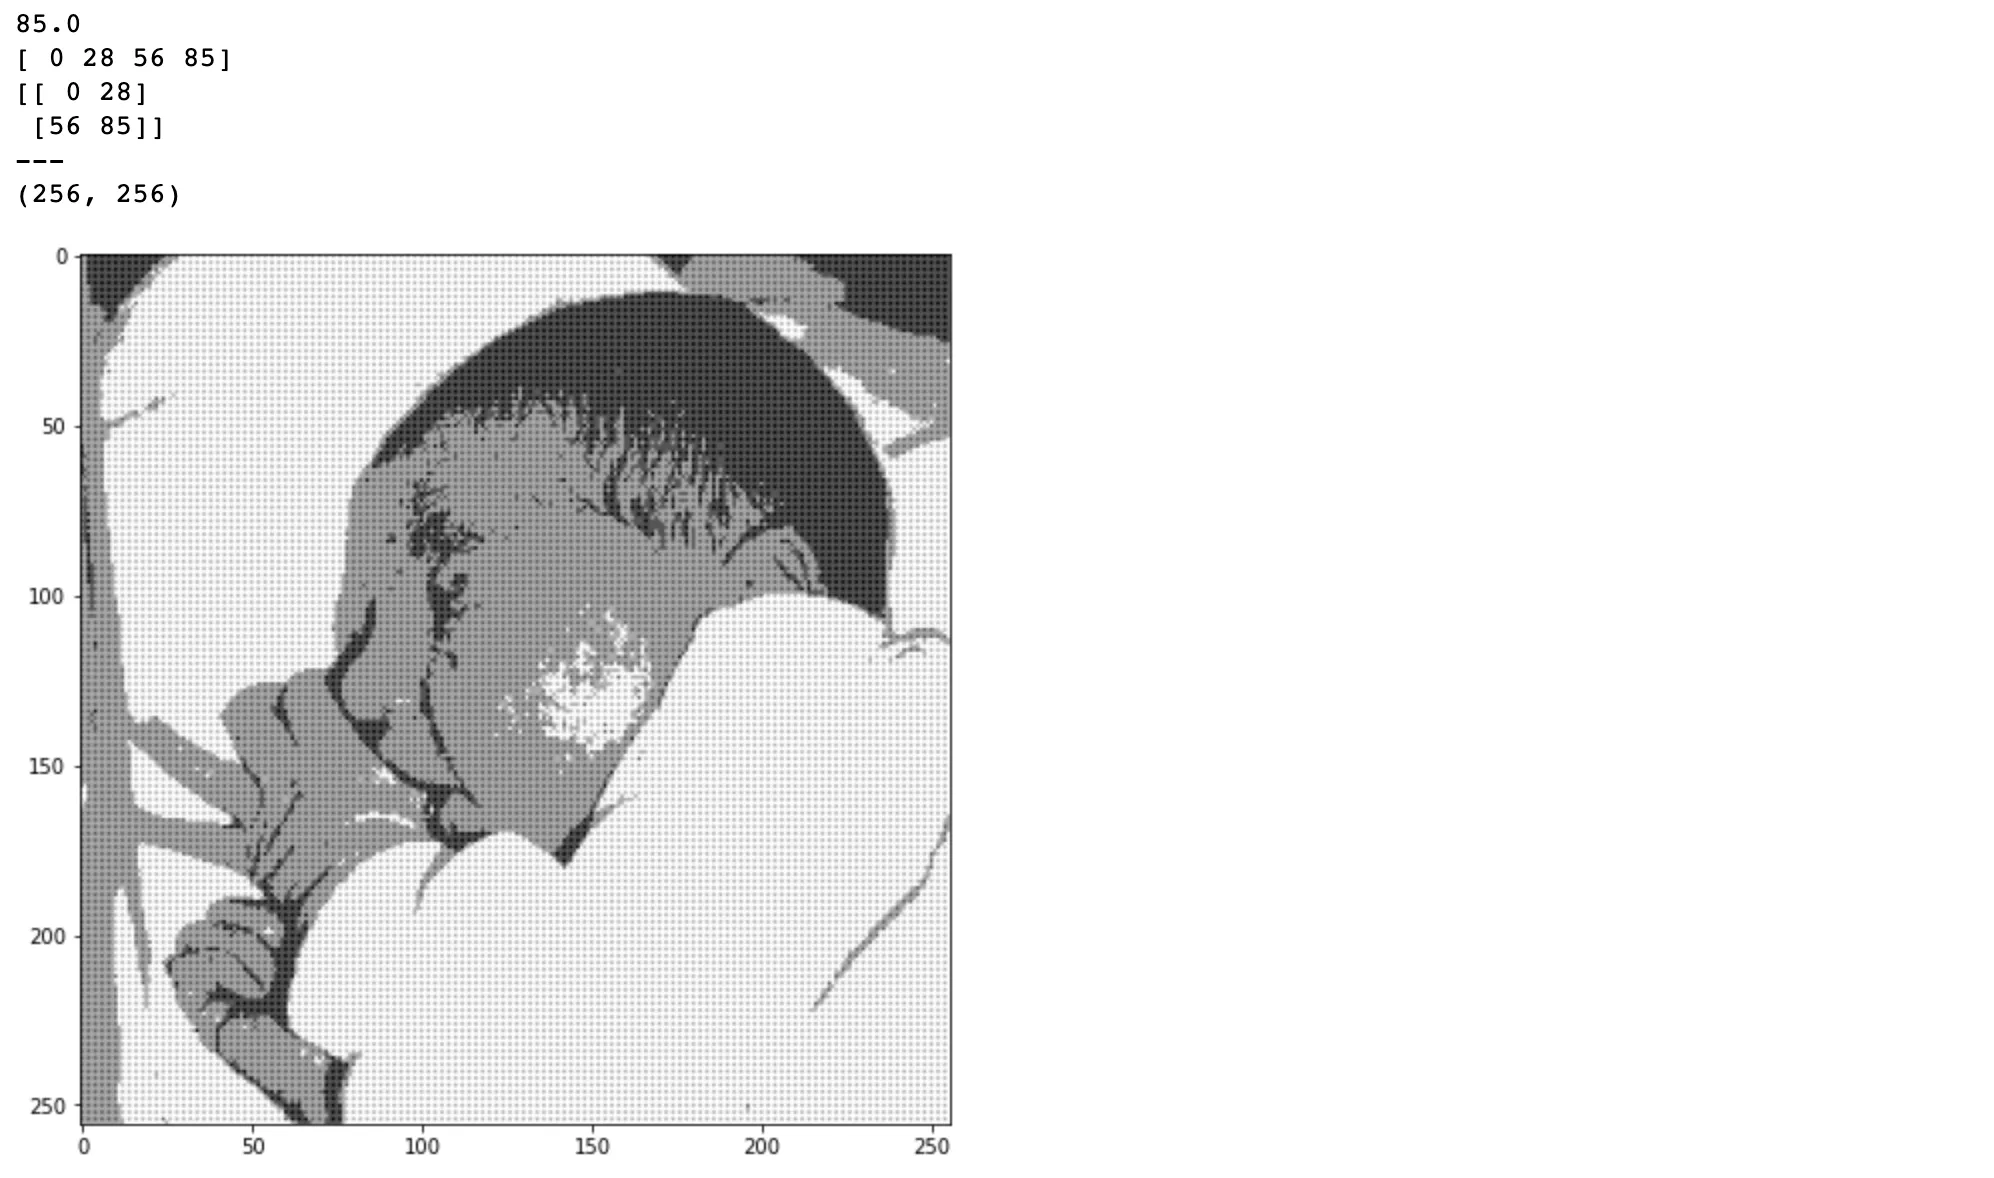
# 4-scale dithering
n = 4
s = np.ceil(uint8_max / (n-1))
print(s)
dithering_4 = np.linspace(uint8_min, s, n).astype(np.uint8)
print(dithering_4)
dithering_4_mat = dithering_4.reshape([np.sqrt(n).astype(np.uint8), np.sqrt(n).astype(np.uint8)])
print(dithering_4_mat)
print('---')
dithering_4_mat = np.tile(dithering_4_mat, [h//np.sqrt(n).astype(np.uint8), w//np.sqrt(n).astype(np.uint8)])
print(dithering_4_mat.shape)
dithering_4_im = np.floor(im / s) + (im > im - s * dithering_4_mat)
plt.figure(131, figsize = [13, 8])
plt.imshow(dithering_4_im, cmap='gray')
plt.show()
Python
복사